
Car Stereo Sound Cuts Out at High Volume: 4 Best Proven Ways to Fix Audio Loss
Fix car stereo sound cutting out at high volume by resolving speaker impedance mismatch, upgrading ground wiring gauge, and stopping internal thermal shutdown.

Cranking up your favorite soundtrack only to have your car stereo sound cuts out at high volume instantly ruins your driving experience.
The dashboard display screen stays fully illuminated, song timers continue counting, yet your cabin speakers drop completely silent until you dial the master volume back down.
In professional 12-volt car audio workshop diagnostics, this audio dropout rarely stems from blown speaker cones or a software application crash.
Over 90% of chronic volume dropouts occur when internal power amplifier integrated circuits trigger thermal protection, electrical ground resistance creates severe voltage sags, or low-impedance speaker loads push output transistors past safe operating limits.
When high audio peaks demand current that the vehicle wiring harness cannot deliver, the internal power amplifier clamps down, directly causing a car stereo sound cuts out at high volume condition.
Before buying expensive replacement speakers or ripping out factory harnesses, bench isolation will isolate the exact electrical bottleneck in under ten minutes.
Here are four practical workshop procedures to troubleshoot why your car stereo sound cuts out at high volume and restore continuous, undistorted cabin acoustics.

Diagnostic Matrix: Why Car Stereo Audio Shuts Down Under Heavy Load
Cross-reference your infotainment system’s symptoms against our workshop matrix whenever a car stereo sound cuts out at high volume fault interrupts your playback:
| Observed System Symptom | Underlying Electrical or Acoustic Cause | Immediate Workshop Action |
|---|---|---|
| Sound cuts off instantly on loud bass drops | Severe 12V rail voltage drop below 10.8V during peak current demand. | Measure B+ and GND terminal voltage drop with a digital multimeter. |
| Audio plays for 5–10 minutes, then cuts out entirely | Internal power amplifier IC overheating due to heat sink saturation. | Improve rear chassis airflow or install a 12V micro cooling fan. |
| Sound clips and pops before going completely silent | Combined speaker impedance wiring load dropped below safe 4-ohm rating. | Verify individual door speaker resistance using a digital multimeter. |
| Only front or rear pair cuts out while others play | Individual speaker voice coil shorting against door sheet metal frame. | Test speaker leads for continuity to bare chassis vehicle ground. |
| Audio cuts out and head unit reboots simultaneously | Loose accessory (ACC) or constant battery line causing brownout restart. | Re-crimp radio power harness terminals and tighten ground ring. |
Step 1: Test Speaker Load Impedance with a Digital Multimeter
Standard aftermarket head units and budget Android stereos (such as Allwinner, TS10, and AC8227L units) are engineered strictly for a 4-ohm to 8-ohm speaker load.
If an installer wired two 4-ohm speakers in parallel on a single channel, the overall nominal resistance drops to 2 ohms.
At low listening levels, the internal amplifier manages the load without issue.
However, turning the dial up causes output transistors to exceed thermal and current boundaries, directly forcing a car stereo sound cuts out at high volume shutdown:
- Disconnect the multi-pin main speaker wiring harness from the back of the car stereo.
- Switch your digital multimeter selector to the lowest Resistance (Ohms Ω) setting.
- Place meter test probes across the positive and negative wire pair for each channel (Front Left, Front Right, Rear Left, Rear Right).
- Interpreting Voice Coil Readings: A healthy car speaker should read between 3.4 ohms and 4.2 ohms DC resistance. If your meter measures below 3.0 ohms, your speakers are wired in an unsafe parallel configuration or have damaged, overheated voice coils.
- Rewire parallel speaker setups into a series circuit or install an external two-channel amplifier rated for low-impedance loads.
For more detailed principles regarding acoustic impedance loads, reference the Audio Engineering Society Standards Overview.
RELATED AUDIO FIX
👉 Experiencing dead channels or silent passenger speakers? Complete single speaker output fix guide →
Step 2: Inspect Speaker Lead Wiring for Ground Short Circuits
Factory vehicle door speaker leads pass through flexible rubber door jamb boots that bend repeatedly with every door cycle.
Over years of vehicle use, thin insulation can wear down, allowing bare copper wire strands to contact bare metal door chassis frames.
When high signal amplitude pulses through the line, output voltage jumps to ground, causing an instant car stereo sound cuts out at high volume protect loop:
- Unplug the radio harness from the head unit chassis.
- Set your multimeter to the Continuity / Beeper setting.
- Touch one test probe to clean vehicle unpainted chassis metal or the dashboard ground bolt.
- Probe each individual positive (+) and negative (-) speaker wire terminal pin in the disconnected radio plug.
- Analyzing Ground Shorts: If the meter beeps or shows any resistance reading below infinity (OL), that specific wire is pinched against the vehicle metal body.
- Pull the door panel off and run fresh 16-gauge oxygen-free copper speaker wire through the rubber grommet to eliminate ground shorts permanently.
Step 3: Measure Power Rail Voltage Sag and Re-terminate Main Ground
Factory radio harnesses frequently use thin 20-gauge copper-clad aluminum wires designed for modest 15-watt factory radios.
When an aftermarket touchscreen pushes 45 to 50 watts peak per channel, high current draw causes substantial voltage drops along high-resistance factory ground wires.
If operating voltage drops below 10.5 volts during dynamic musical peaks, the stereo’s internal digital sound processor mutes all output channels to prevent catastrophic brownout damage.
This electrical starvation is a primary mechanical cause of a car stereo sound cuts out at high volume complaint:
- Keep the radio connected and playing audio with the vehicle engine idling.
- Set your digital multimeter to DC Voltage mode.
- Insert thin back-probe pins into the radio connector between the constant yellow wire (+12V Battery) and the black wire (Ground).
- Slowly turn the master volume knob up toward maximum listening level while monitoring your meter screen.
- Diagnosing Voltage Drops: If the meter display dips below 11.5 volts as the sound cuts out, the wiring cannot supply adequate current.
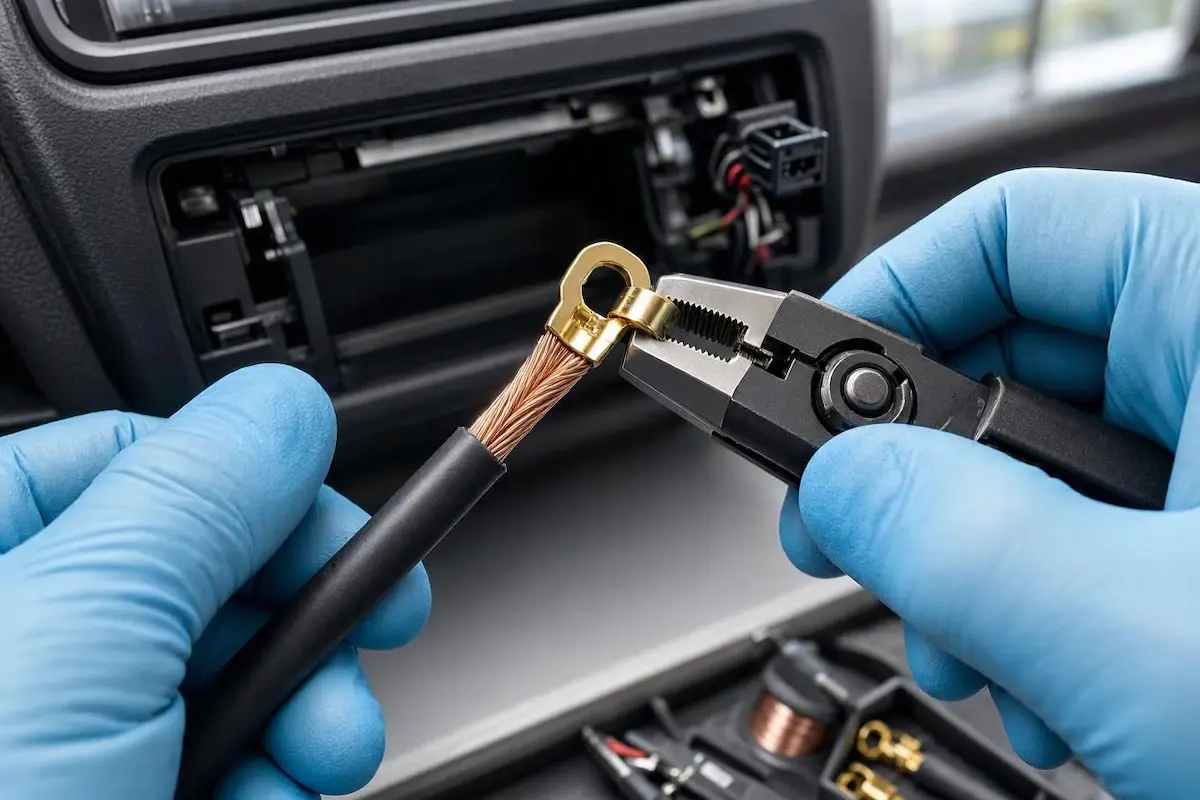
- Cut the black ground lead from the factory adapter plug and bolt a dedicated 14-gauge copper ground wire directly to a bare metal chassis point behind the dashboard console.
⚠️ High-Pass Filter Precaution: Driving small 6.5-inch door speakers with unfiltered sub-bass frequencies below 60 Hz forces voice coils into over-excursion and excessive current draw. Always configure a High-Pass Filter (HPF) at 80 Hz within your stereo equalizer to protect internal amplifier circuits.
RELATED AUDIO FIX
Step 4: Stop Amplifier IC Overheating and Thermal Saturation
Internal amplifier chips (such as the common TDA7851 and TDA7388 ICs) mount against thin aluminum rear heat sink fins.
In compact double-DIN dashboard cavities with zero active airflow, trapped heat quickly drives internal silicon temperatures past 150°C (302°F).
When this temperature threshold is reached, built-in thermal protection turns off audio output until the casing cools down, causing a cyclical car stereo sound cuts out at high volume failure:
- Unmount the car stereo and inspect the rear heat sink casing immediately after an audio shutdown.
- If the rear casing is scalding hot to the touch, thermal saturation is tripping output mute circuits.
- Ensure wiring harnesses and CAN Bus adapter boxes are neatly bundled and not resting directly against heat sink cooling fins. Review our workshop guide on connecting factory wiring harnesses to Android units.
- Mount an ultra-quiet 5V or 12V 40mm micro brushless fan on the rear heat sink frame, wiring its positive lead to the radio’s blue remote turn-on line.
- If your stereo suffers from electrical sleep issues, reference our diagnostic walkthrough on car stereo battery drain to verify proper accessory circuit shutoff.
RELATED AUDIO FIX
👉 Running external subwoofers alongside your stereo? Workshop guide to fixing amplifier protect mode →
Solving a frustrating car stereo sound cuts out at high volume issue comes down to methodically verifying electrical stability and acoustic load matching.
Testing speaker impedance across all four channels, eliminating wire shorts to vehicle metal, running clean chassis ground leads, and ensuring adequate heat dissipation eliminates volume cutouts permanently.
Apply these workshop checks whenever a car stereo sound cuts out at high volume condition mutes your music playback.
Frequently Asked Questions (FAQ)
Why does my car stereo sound cuts out at high volume?
Your car stereo sound cuts out at high volume because peak audio output draws excessive current, causing internal amplifier IC overheating, low-impedance overload below 4 ohms, or voltage drop across thin factory ground wires.
Can a bad ground cause a car stereo to cut out when turned up?
Yes. A loose or high-resistance ground wire causes voltage to sag below 10.5V under heavy musical loads, triggering internal DSP protection that mutes sound while keeping the display lit.
How do I stop my car stereo sound cuts out at high volume with bass?
Set a High-Pass Filter (HPF) at 80 Hz on door speakers to cut sub-bass strain, inspect speaker coils with a multimeter to ensure 4-ohm impedance, and run a dedicated 14-gauge ground wire to bare chassis metal.