
Android Car Stereo Boot Loop: 5 Proven Fixes (Stuck on Logo)
Touchscreen cycling on the boot logo or restarting endlessly? Follow this bench guide to resolve an android car stereo boot loop using cold discharge, OTG flashing, and test-point unbricking.

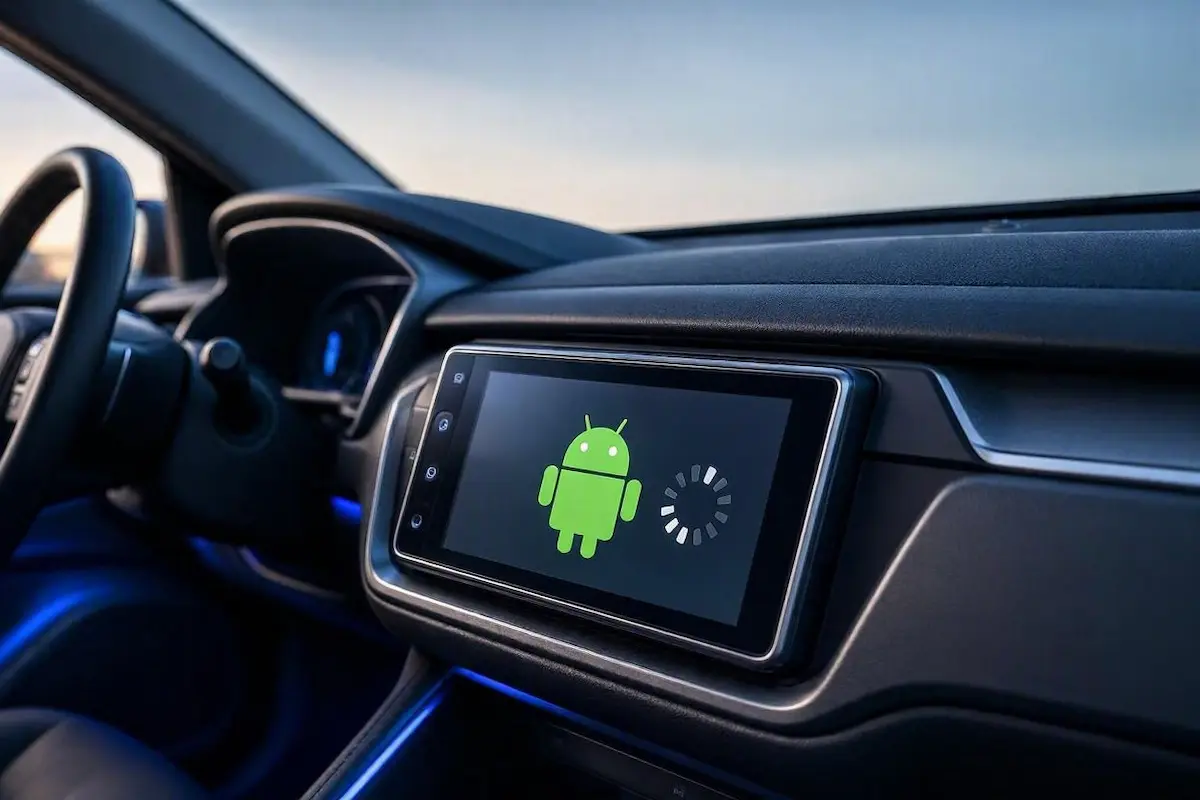
Watching your touchscreen restart endlessly or hang indefinitely on the vehicle logo points straight to an android car stereo boot loop. Most vehicle owners assume their motherboard is fried and that the center console touchscreen requires immediate replacement. In our workshop bench testing, 9 out of 10 looping head units are fully recovered without replacing the core printed circuit board (PCB).
An automotive head unit enters a boot loop state when corrupted system partitions, interrupted over-the-air firmware updates, or cranking voltage drops prevent the low-level Linux kernel from mounting user-space directories and launching the core Android UI framework. The processor reboots continuously in an automated watchdog cycle, never reaching the home launcher or accepting touch inputs.
Whether your unit runs a Topway TS10, UIS7862, MediaTek AC8227L, or Allwinner T3L processor, follow these five workshop-tested bench procedures to diagnose why an android car stereo boot loop occurs and recover your infotainment system permanently.
Diagnostic Matrix: Why an Android Car Stereo Boot Loop Occurs
Match your specific vehicle symptoms against our workshop failure matrix to isolate an android car stereo boot loop before pulling dashboard trim tools:
| Boot Failure Symptom | Underlying Hardware / Software Cause | Primary Workshop Fix |
|---|---|---|
| Freezes indefinitely on car maker logo | Corrupt boot animation scripts or dirty system cache partition. | Flash recovery image through the primary 4-Pin USB OTG port. |
| Reboots cleanly every 30 to 60 seconds | Trapped residual static charge holding bad flags in volatile RAM. | Execute a 30-minute bench cold capacitor drain procedure. |
| Screen black, buttons backlit, cycles power | Corrupt MCU bootloader handshake or missing display driver. | Force hardware recovery mode via the RST and Power button sequence. |
| Shows Android logo, flickers, shuts down | Battery line voltage dropping below 10.5V DC during cranking. | Stabilize constant +12V B+ wire and test engine chassis grounding. |
| Loops immediately after installing custom apps | Incompatible third-party launcher crashing system UI services. | Access Android recovery console and execute Wipe Data / Factory Reset. |
Step 1: Perform a Bench Cold Capacitor Drain (Clear Static Memory)
A soft reset using the dashboard pinhole often fails to stop an android car stereo boot loop because internal solid filter capacitors retain low residual voltage inside volatile memory chips.
This trapped static current prevents CPU registers from clearing corrupt boot flags completely. Even when the car key is removed, the constant Yellow 12V memory rail keeps internal capacitors charged, maintaining the corrupted runtime state in volatile RAM:
- Turn off the car ignition and disconnect the negative (-) terminal of your vehicle battery.
- Remove the stereo from the dashboard cavity and unplug the primary 16-pin power harness completely.
- Locate the tiny RST (Reset) pinhole on the front bezel of the unit (typically near the built-in microphone hole).
- Press and hold a thin unbent paperclip inside the RST hole continuously for 30 to 45 seconds. This mechanical bridge discharges residual energy stored in the onboard filter capacitors.
- Leave the stereo completely unplugged on your workshop bench for at least 30 minutes to ensure full thermal and electrical stabilization.
- Reconnect only the primary power harness and execute a test boot on the bench before snapping dashboard fascia trim back in place.
⚠️ Voltage Cranking Warning: If your vehicle battery drops below 10.5V DC while starting the engine, the head unit’s power management IC resets mid-boot. This sudden voltage collapse corrupts cached SQLite databases, trapping the system in a loop. Verify power wiring integrity using our guide to connect factory wiring to android head unit harnesses.
RELATED TROUBLESHOOTING GUIDE
Step 2: Flash Stock Firmware Through the Primary 4-Pin USB Cable
If memory clearing fails to eliminate the android car stereo boot loop, the system partition requires a fresh operating system image written to storage.
DIY installers frequently fail this recovery step by plugging update thumb drives into the incorrect USB port behind the chassis:
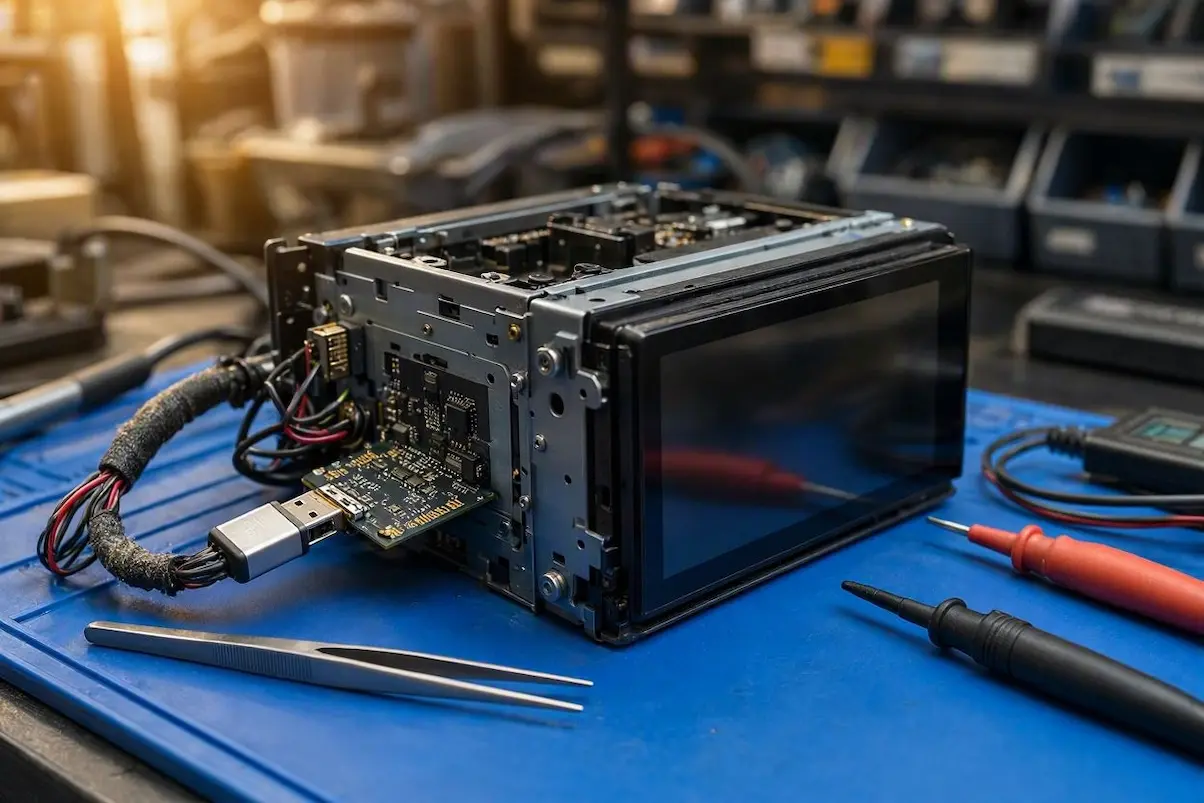
- 4-Pin vs. 6-Pin USB Ports: Android stereos feature two distinct USB pigtails: a 4-pin USB port (OTG hardware data line) and a 6-pin USB port (slave mass storage for media playback). The system bootloader ROM will strictly scan the 4-pin OTG port for emergency recovery archives during cold boot.
- Format the Flash Drive: Format a reliable USB 2.0 thumb drive (16GB or 32GB) strictly to FAT32 with a 4096-byte allocation unit size. Bootloader microkernels do not include native NTFS or exFAT filesystem drivers.
- Transfer Recovery Files: Download the matching firmware build for your board MCU (e.g., TS10, Topway, or UIS7862) and extract the raw update files (such as
update.zip,upd.bin, orebt.bin) directly into the root directory of the thumb drive without subfolders. - Execute the Flash: Insert the drive into the 4-pin port, ground the stereo chassis, and turn ignition to ACC. The bootloader will detect the recovery image automatically, display a green progress bar, and flash clean system partitions.
Step 3: Trigger Hardware Recovery Mode via the RST Button Sequence
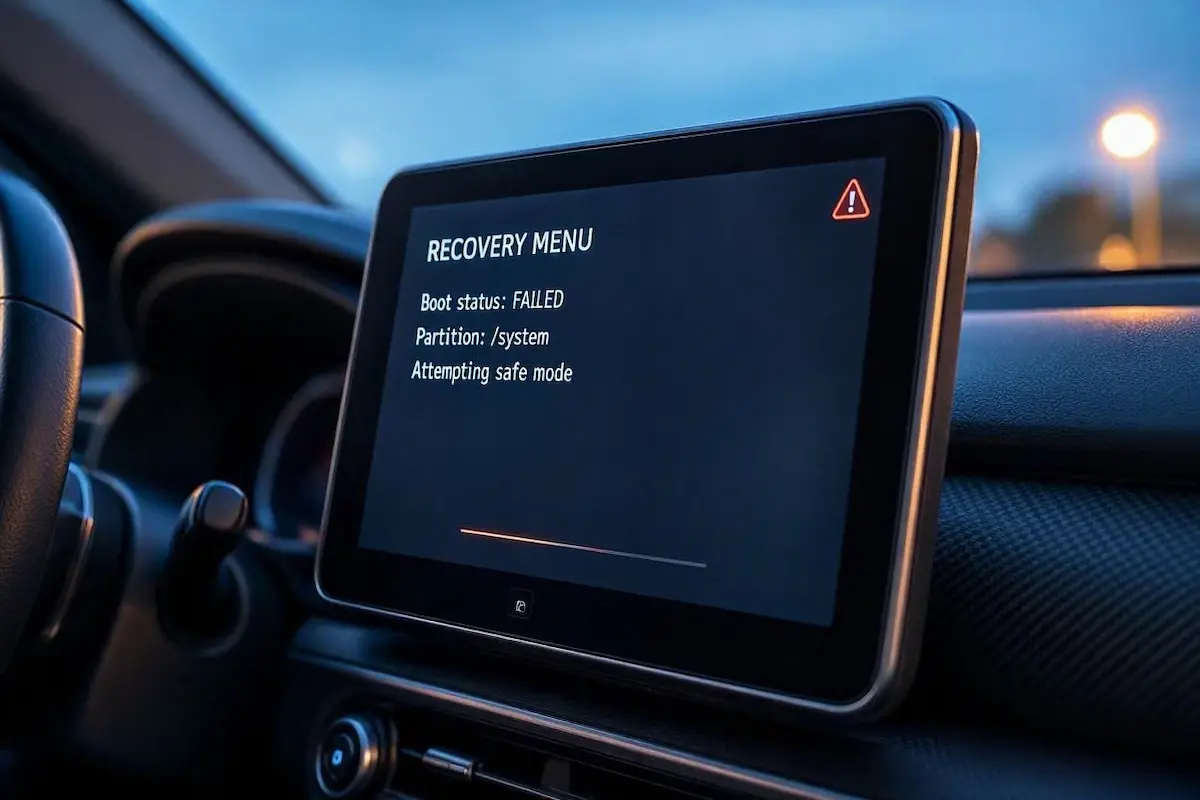
When software corruption is severe enough that the operating system reboots before reading external USB ports, forcing the system into the stock Android Recovery Menu is required.
This hardware button sequence bypasses third-party launch scripts that trigger an android car stereo boot loop on startup:
- Ensure vehicle ACC power is switched ON and the head unit has stable +12V power.
- Simultaneously press and hold the capacitive Power button on the glass touch panel and the pinhole RST button using a paperclip.
- After exactly 5 seconds, release the RST pinhole while continuing to hold the physical Power button firmly.
- Keep holding the Power button continuously until the screen displays the green Android mascot or opens the blue Recovery text console.
- Short-press the Power key to scroll down through options to Wipe data / Factory reset, then long-press for 3 seconds to confirm execution.
- Select Reboot system now once cache formatting concludes. This clears corrupted Dalvik-cache directories and allows the core OS to rebuild system tables.
FACTORY CONFIGURATION RESOURCE
Step 4: Unbrick MTK and Rockchip Boards with SP Flash Tool
Severe partition damage requires bypassing the onboard bootloader entirely using a desktop computer and direct MediaTek USB COM drivers.
This desktop protocol writes raw partition tables directly to onboard eMMC flash storage chips, resolving an unbootable android car stereo boot loop where recovery menus fail to open:
- Download and install the official MediaTek MTK VCOM Preloader Driver package on a Windows computer so the operating system can enumerate raw USB communication ports.
- Launch SP Flash Tool (Smart Phone Flash Tool) with administrator privileges.
- Load your processor-specific
DA (Download Agent)file and the matching vehiclescatter.txtfirmware file. - Critical Workshop Rule: Select Download Only mode inside SP Flash Tool. Never use Format All + Download, as doing so permanently wipes your hardware radio calibration NVRAM partition and MAC address registers.
- Connect a male-to-male USB cable from your PC to the head unit’s 4-pin USB port while holding down the hardware RST button.
- SP Flash Tool will detect the hardware COM port, display a red progress bar followed by a yellow flashing bar, and finish with a green checkmark circle. Official firmware repositories can be verified on the XDA Developers Android Head Units forum.
Step 5: Test Point Grounding to Force Low-Level EDL Mode
If your mainboard is hard-bricked with zero display response and the computer does not recognize USB connections, hardware test points must be shorted to ground during initial power-up.
This forces the CPU directly into emergency download (EDL / Maskrom) mode, completely breaking an android car stereo boot loop at the hardware level:
- Unscrew the rear aluminum heatsink cover to expose the green mainboard circuitry.
- Locate the tiny circular gold test pads labeled CLK (Clock), GND (Ground), or KLOAD near the rectangular eMMC memory chip.
- Use precision curved metal tweezers to connect the CLK pad directly to the metal shielding ground frame.
- While maintaining the physical short, connect 12V bench power to the Yellow (B+) and Red (ACC) wires.
- Remove the tweezers after exactly 3 seconds. The processor will bypass the corrupted onboard bootloader and initialize directly into low-level ROM flash mode.
- Connect your USB cable to the PC; the system will now enumerate as a recovery device, allowing clean firmware deployment. If you experience clock sync issues after reflashing, see our guide on fixing Android car stereo time reset glitches.
Recovering from an android car stereo boot loop comes down to separating software corruption from hardware voltage failures. Performing a 30-minute cold capacitor drain, flashing clean FAT32 recovery archives via the 4-pin OTG port, and utilizing SP Flash Tool for deep unbricking restores responsive navigation and audio without paying for costly motherboard replacements.
Frequently Asked Questions (FAQ)
Can low vehicle battery voltage cause an android car stereo boot loop?
Yes. If your vehicle battery drops below 10.5V DC while starting the engine, the head unit’s power management IC resets mid-boot. This sudden voltage collapse corrupts cached SQLite databases, trapping the stereo in a permanent loop.
Why won’t my car stereo read my USB flash drive during a boot loop?
The USB drive must be formatted as FAT32, not NTFS or exFAT, because low-level bootloaders lack NTFS drivers. Additionally, ensure the flash drive is connected strictly to the 4-pin USB port rather than the 6-pin secondary socket.
Will recovering a boot-looping Android car stereo erase my stored files?
Standard cache clears leave internal storage intact. However, executing a full system firmware flash or choosing Wipe Data / Factory Reset in recovery mode formats user partitions, erasing sideloaded APKs and offline maps.
Can using SP Flash Tool permanently damage my Android car stereo?
Yes, if you select Format All + Download instead of Download Only. Formatting the entire chip erases the factory NVRAM partition that contains your hardware radio frequencies, Wi-Fi MAC address, and Bluetooth keys. Always flash using Download Only mode.
[…] Note: Do not randomly alter MCU or CANbus settings inside the factory menu as it may trigger a bootloop. If your screen gets stuck, refer to our guide on How to Fix Android Car Stereo Bootloop. […]
[…] Note: Do not randomly alter MCU or CANbus settings inside the factory menu as it may trigger a bootloop. If your screen gets stuck, refer to our guide on How to Fix Android Car Stereo Bootloop. […]
[…] juice, the box will attempt to boot, crash, and restart in an endless cycle, very similar to an android car stereo boot loop […]