
Android Car Stereo Screen Flickering: 5 Proven Fixes (Tested)
Is your Android head unit display flickering rapidly, pulsing when headlights turn on, or flashing horizontal white lines? Learn how to fix PWM dimmer conflicts, eliminate 12V harness voltage drops, and reseat loose LCD ribbon cables.

Observing an issue where your android car stereo screen flickering distracts your driving usually exposes an electrical noise conflict rather than a shattered LCD panel or a fried graphics processor.
In our workshop bench testing, the display glass itself is almost never the failing component.
Aftermarket Android head units utilize sensitive internal DC-DC boost converters to step up vehicle voltage to drive high-output LED backlights.
These power stages run alongside unshielded internal ribbon data lines that are vulnerable to alternating electromagnetic interference.
When the screen strobes rapidly the moment headlights switch on, the fault is usually Pulse Width Modulation (PWM) feedback on the vehicle’s illumination line.
Conversely, horizontal scan lines that jitter over rough roads point to an unseated FPC ribbon cable or ground loop resistance between the stereo chassis and the vehicle firewall.
Before tearing your dashboard trim apart or ordering replacement LCD panels, five structured bench checks will isolate whether the strobe is caused by dirty vehicle power or a mechanical connection.
Here are five workshop-tested steps to resolve why an android car stereo screen flickering issue occurs and restore a rock-solid display.
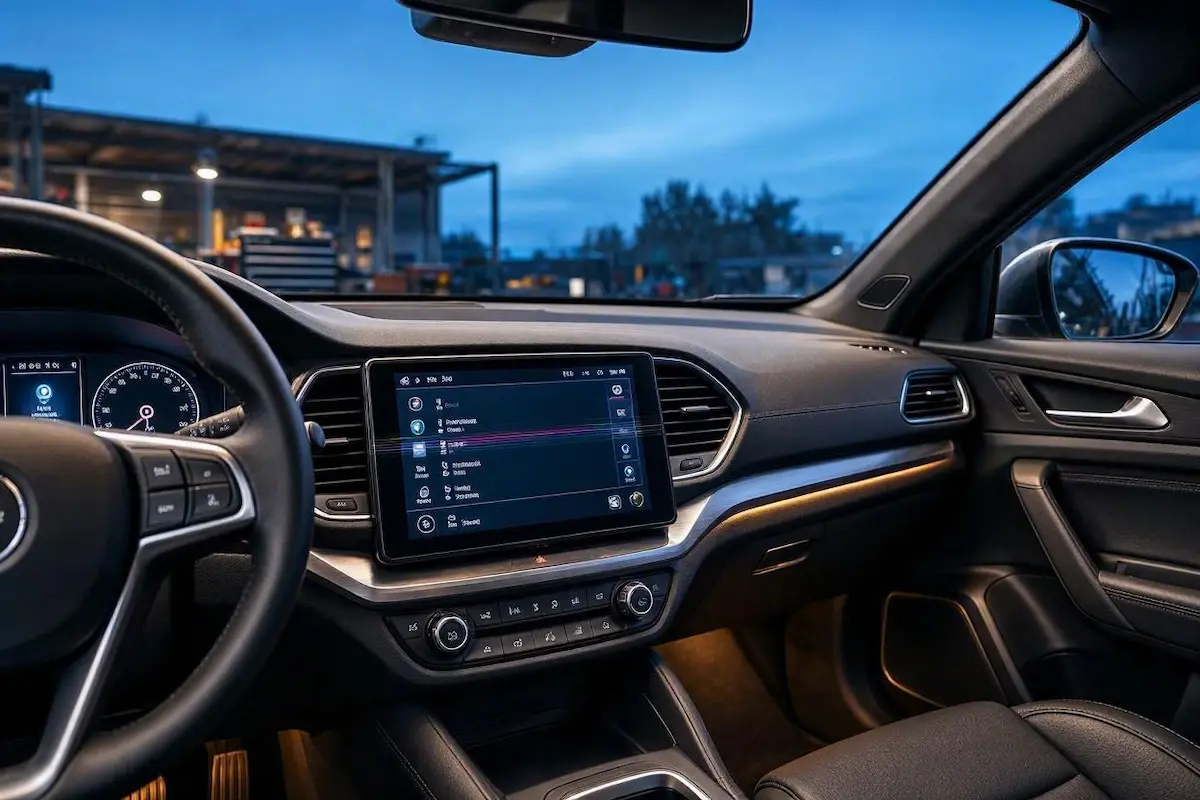
Diagnostic Matrix: Why Android Car Stereo Screen Flickering Occurs
Match your specific visual symptoms against our workshop failure matrix to isolate a display flickering fault before modifying wiring harnesses:
| Observed Display Symptom | Underlying Electrical / Hardware Trigger | Immediate Workshop Action |
|---|---|---|
| Flickers rapidly only when headlights or parking lights turn ON | Vehicle dashboard dimmer sends high-frequency PWM pulses into analog ILL wire. | Disconnect Orange ILL wire or install a 12V DC filter capacitor. |
| Screen dips or blinks during heavy bass notes or engine revving | Voltage sag below 11.5V on the Yellow (+12V Battery Constant) line. | Run a dedicated 14-AWG fused power lead directly from the battery. |
| Jittering horizontal scan lines or color distortion over bumps | Loose or unseated 40-pin / 60-pin FPC display ribbon cable inside the chassis. | Open radio chassis, clean gold contacts, reseat ribbon, and clamp latch. |
| High-frequency screen shimmer or buzz during engine operation | Ground loop resistance causing ground potential floating on stereo PCB. | Ground the Black harness wire directly to bare vehicle chassis steel. |
| Screen scrambles or shows double images immediately after bootup | Mismatched LVDS or MIPI display panel clock timing in MCU firmware. | Select correct display panel IC and refresh rate in Factory Settings. |
Step 1: Disconnect or Filter the Orange Illumination (ILL) Wire
The leading cause of display flickering occurs the exact second you switch on vehicle exterior lights.
In modern vehicles, factory dashboard dimming circuits do not lower illumination by reducing DC voltage. Instead, they use high-frequency Pulse Width Modulation (PWM) to pulse the voltage rapidly on and off.
Factory radios have integrated hardware PWM filters, but generic Android stereos expect a clean, steady +12V analog DC signal on their Orange illumination lead.
When rapid PWM pulses hit the head unit, the internal LED backlight driver strobes at 100Hz, creating an annoying screen flickering state across the entire display:
- Slide the stereo forward to access the rear 16-pin harness.
- Locate the Orange or Orange/White wire (labeled ILL or ILLUMI). Review our complete wire pinout chart in the factory wiring harness to Android head unit guide to confirm your pin location.
- Snip the Orange wire and cap both exposed ends securely with electrical tape or heat shrink.
- Switch on your headlights. If the flickering vanishes immediately, PWM interference was your root problem. You can manage display brightness manually via the Android drop-down status shade.
⚠ Retaining Auto-Dimming: If you want automatic night dimming without flickering, do not tap into the instrument cluster dimmer. Tap the head unit’s Orange ILL wire into the cigarette lighter illumination ring or rear license plate light circuit, which provides steady, un-pulsed +12V DC current.
RELATED TROUBLESHOOTING GUIDE
Step 2: Measure Voltage Sag on the Yellow 12V Constant (B+) Line
Electrical starvation is another common cause of sudden display blackouts and backlight flutter.
Android head units feature power-demanding octa-core processors, multi-channel audio amplifiers, and high-brightness IPS displays. The internal DC-DC backlight driver requires a steady operating supply between 11.8V and 14.4V.
Thin 20-AWG factory harness wires or oxidized fuse blade contacts introduce high electrical resistance. When you turn on the cabin blower fan or crank up audio volume, supply voltage dips below 11.2V.
This voltage drop causes the backlight boost converter to shut down momentarily, making an android car stereo screen flickering symptom appear on every heavy bass hit:
- Set a digital multimeter to DC Volts (20V range).
- Backprobe the Yellow wire (+12V Constant B+) and Black wire (Ground) at the main radio plug with the stereo turned ON.
- Turn on the vehicle headlights, set the A/C fan to maximum, and observe the voltage reading.
- If the readout dips below 11.5V, the factory vehicle wiring cannot deliver adequate current.
- The Permanent Fix: Run a dedicated 14-AWG copper power wire directly from the positive battery terminal through a 15A inline fuse straight to the stereo’s Yellow wire.
Ensuring steady voltage prevents current dips that make your backlight fluttering glitch reoccur during sudden engine acceleration.
Step 3: Reseat and Secure the Internal LCD FPC Ribbon Cable
If your display flickers with white horizontal lines, distorted color banding, or turns into scrambled static when hitting potholes, the breakdown is mechanical.
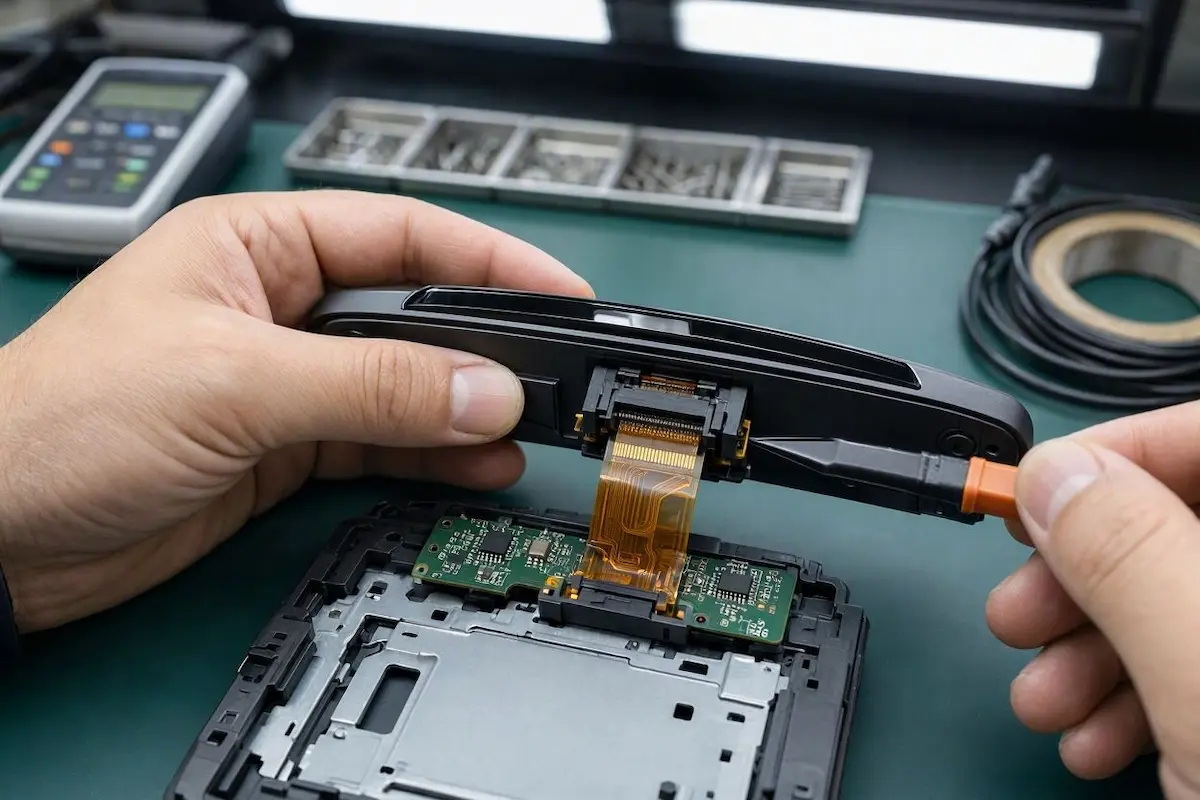
Inside slim-chassis Android stereos, the LCD glass and touch digitizer bridge to the motherboard through a delicate 40-pin or 60-pin Flexible Printed Circuit (FPC) ribbon cable.
Engine vibrations and summer cabin heat weaken the clamping tension of this socket over time. This vibration creep causes intermittent pin contacts that trigger a display flickering symptom across the panel:
- Remove the stereo from the dashboard and place it on a clean workbench.
- Remove the four small Phillips screws securing the rear aluminum chassis to the front display faceplate.
- Carefully separate the front bezel, taking care not to rip the short ribbon cable inside.
- Locate the flat ribbon connector on the circuit board. Flip the dark plastic locking latch up using an anti-static nylon probe.
- Pull the ribbon out, clean the gold contact fingers using 99% isopropyl alcohol on a lint-free swab, and let dry.
- Slide the ribbon back into the socket squarely and press the locking latch down firmly. Apply a strip of high-temperature Kapton tape across the connector to eliminate vibration creep permanently.
Securing the connector terminates mechanical gaps that make an android car stereo screen flickering defect appear over rough gravel roads.
RELATED TROUBLESHOOTING GUIDE
Step 4: Establish a Dedicated Low-Resistance Chassis Ground
Floating ground potentials create severe high-frequency shimmering across LCD matrix screens.
Factory ground circuits are frequently daisy-chained alongside HVAC blower motors, radiator fan relays, or wiper motors. As these inductive loads cycle on and off, they dump electrical hash onto the shared ground plane.
Poor chassis grounding is an overlooked reason behind an android car stereo screen flickering problem while idling in traffic:
- Measure Ground Resistance: Disconnect the negative battery terminal. Set your multimeter to Ohms (Ω). Place one test probe on the head unit’s Black ground wire and touch the other probe to an unpainted metal chassis bolt on the vehicle firewall. Resistance must measure under 0.2 Ohms.
- Scrape Paint Down to Bare Steel: If measured resistance exceeds 0.5 Ohms, do not rely on the factory radio harness ground. Crimp an 8mm ring terminal onto a 14-AWG wire, splice it into the stereo’s Black wire, and bolt it securely to bare metal chassis steel beneath the dashboard to drain static interference.
Draining parasitic static voltage stops ground floating that leaves the screen shimmering whenever you switch on the cabin air conditioning.
Step 5: Calibrate Display Panel Timing in Factory Settings
If display flickering began immediately following a firmware flash, MCU update, or factory reset, the root cause is a software driver timing mismatch.
Android car stereos utilize universal system boards paired with dozens of different display panels manufactured by HannStar, BOE, or AUO. Each panel requires specific clock timing and LVDS driver parameters.
An incorrect refresh rate creates high-frequency display shimmer, mimicking an android car stereo screen flickering hardware breakdown:
- Open the Settings app on your Android car stereo.
- Navigate to Car Settings → Factory Settings (or Extra Settings).
- Enter your manufacturer’s 4-digit engineering code (commonly
8888,1617,3368, or123456). Check our complete Android car stereo factory settings passwords directory if your default code fails. - Locate the Screen Resolution / Display IC / Panel Type menu.
- Confirm that the selected resolution matches your physical screen hardware (e.g., MIPI 1280×720 or LVDS Single-8 1024×600).
- If an option exists for Backlight Frequency / PWM Frequency, switch the value from 50 Hz to 60 Hz (or toggle between PWM High / PWM Low).
- Tap Save & Reboot to commit the display timing profile into the system MCU flash according to standard Android Automotive OS display architecture specs. If your screen is stuck on a logo loop, see our Android car stereo boot loop recovery guide.
Diagnosing screen flicker comes down to separating dirty vehicle 12V power from internal ribbon connections.
Snipping a PWM-choked orange wire or securing a loose display ribbon with Kapton tape solves nearly every case without spending hundreds on a replacement stereo.
Following this structured diagnostic procedure ensures your android car stereo screen flickering trouble is eliminated permanently, restoring crisp, stable graphics across every journey.
Frequently Asked Questions (FAQ)
Why does my Android car stereo screen flicker when headlights turn on?
When an android car stereo screen flickering issue triggers upon switching on headlights, modern vehicles are using Pulse Width Modulation (PWM) on the dash dimmer circuit to dim instrument bulbs. When this pulsing voltage feeds into the stereo’s analog Orange illumination wire, the unit’s LED backlight switches on and off at 100 Hz. Disconnecting the Orange illumination wire stops the flicker instantly.
Can a low car battery cause an Android head unit screen to flicker?
Yes. If your vehicle battery or alternator drops below 11.5V under electrical loads like air conditioning or heavy bass, the stereo’s internal DC-DC backlight boost converter cannot maintain stable current, causing the display to blink or dim rapidly.
How do I fix horizontal lines flickering across an Android car stereo?
Horizontal scan lines flickering over rough roads indicate a loose or dirty FPC display ribbon cable between the front glass faceplate and the main circuit board. Disassembling the chassis, cleaning the ribbon contacts with isopropyl alcohol, and reseating the locking latch will resolve the scan lines.
Can bad ground wiring cause screen shimmering?
Yes. High ground resistance forces the head unit’s ground plane to float. This allows alternator AC ripple and electrical noise from heater blowers to leak into the video decoder, producing visible high-frequency display shimmering.