
Why Are My Car Speakers Crackling When Playing Music? (5 Step-by-Step Fixes)
Hearing an irritating rasping or popping noise through your car doors every time bass hits? Discover whether you are dealing with a blown speaker cone, audio amplifier clipping, or frayed door jamb wiring, and how to fix it permanently.

Hearing an abrasive, popping, or raspy distortion whenever car speakers crackling when playing music disrupts your driving playlist usually indicates that your audio signal is clipping into a dangerous direct-current square wave or the speaker cone former has suffered physical fatigue. While many drivers immediately assume their digital head unit has failed, acoustic distortion almost always traces back to three mechanical and electrical breakdown points: voice coil warping, excessive amplifier rail voltage drop, or flex breaks inside the rubber door hinge wiring harness.
Automotive sound systems operate under challenging physical conditions. As door cavities accumulate moisture and cabin temperatures fluctuate, paper cones and foam surrounds break down, allowing the copper voice coil to scrape against the center magnet pole piece. Furthermore, driving low-power head units past 75% volume with heavy equalizer bass boosts forces internal output transistors into severe saturation, sending clipped square waves that sound identical to a blown speaker driver.
Before buying expensive replacement audio gear, fifteen minutes of structured bench troubleshooting will isolate whether the fault originates inside your equalization settings, the wiring loom, or the physical transducer. Here are five practical workshop procedures to diagnose why your car speakers crackling when playing music issue occurs and restore crisp, balanced audio across all cabin channels.
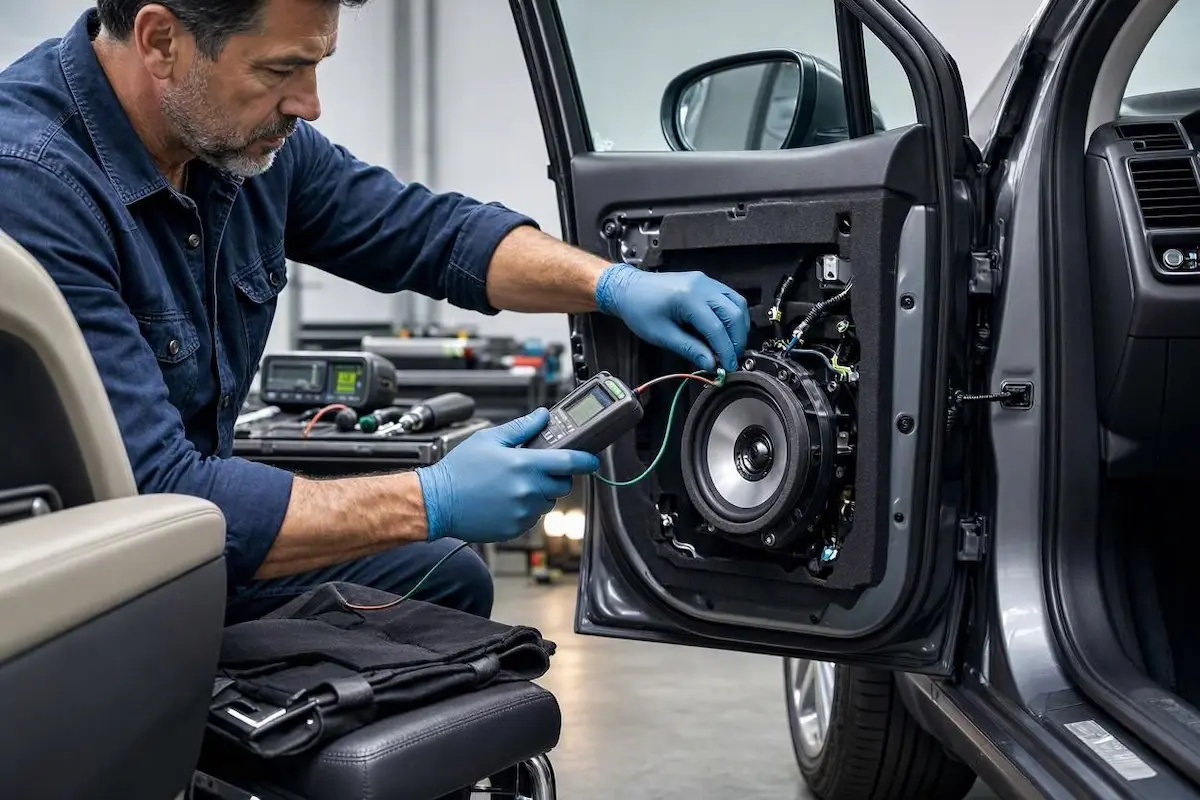
Diagnostic Matrix: Why Car Speakers Crackling When Playing Music Occurs
Match your specific audio distortion symptoms against our workshop failure matrix to isolate an issue where your car speakers crackling when playing music before removing interior trim panels:
| Distortion Symptom | Likely Electrical / Mechanical Cause | Immediate Workshop Action |
|---|---|---|
| Crackling isolated strictly to one specific door | Deformed voice coil, torn surround, or loose spade terminal. | Inspect speaker cone physically and check terminal lug retention. |
| All speakers distort simultaneously at high volume | Head unit internal amplifier audio clipping or voltage drop. | Flatten EQ bass boost and inspect 12V constant power rail voltage. |
| Popping occurs only when driving over rough pavement | Chafed speaker wire intermittently grounding against door steel. | Check the rubber accordion boot in the door jamb for wire breaks. |
| High-pitched whine changing pitch with engine RPM | Alternator AC ripple leaking through the chassis ground circuit. | Install a ground loop isolator or re-ground the stereo chassis to bare metal. |
| Distortion occurs on Bluetooth or AUX streaming only | Source output clipping (phone volume at 100%) or bad 3.5mm jack. | Lower phone volume to 85% and test playback with a clean USB track. |
Step 1: Inspect the Speaker Cone and Measure Voice Coil DC Resistance
Physical transducer fatigue is the single most frequent mechanical explanation for car speakers crackling when playing music in vehicles over five years old. Factory paper cones and foam suspension surrounds degrade after prolonged exposure to humidity and high cabin heat cycles.
When driven past thermal limits, the copper voice coil overheats and warps its Kapton or aluminum former, causing the microscopic copper windings to physically rub against the permanent magnet gap during forward and backward excursion:
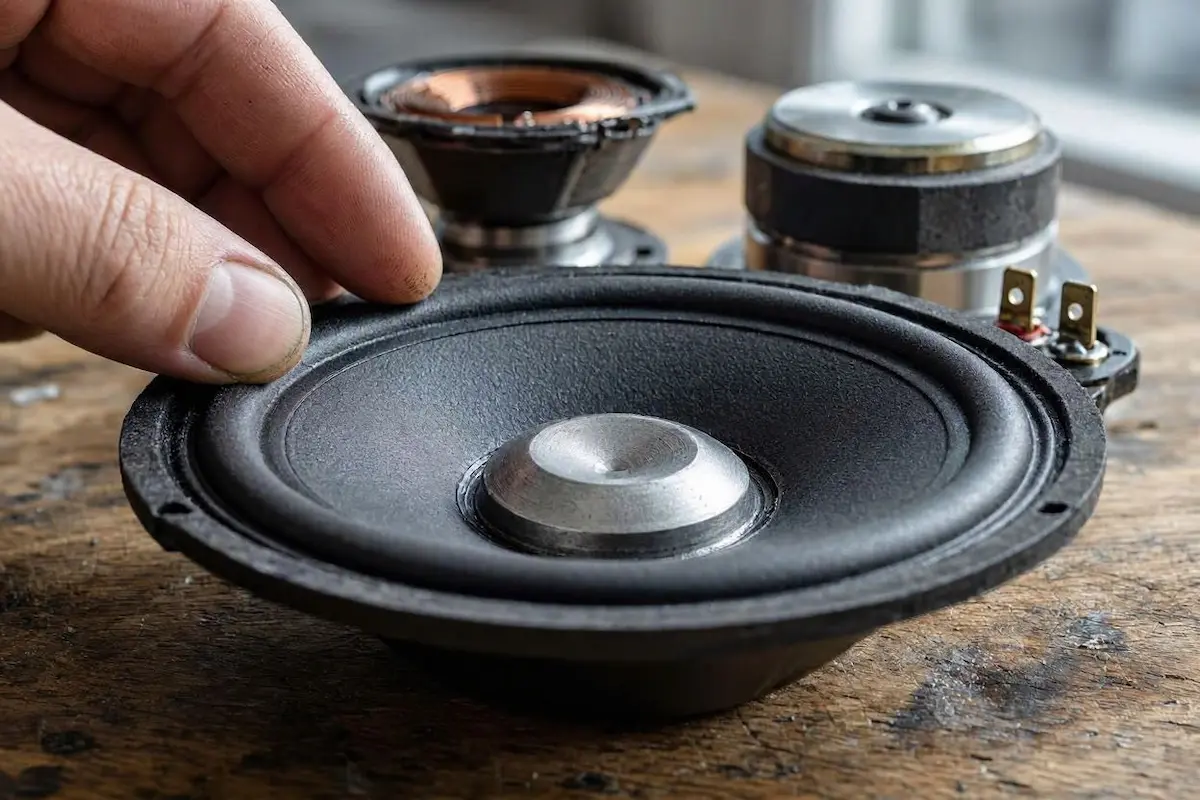
- Remove the door trim panel using plastic pry tools to expose the speaker frame.
- The Manual Excursion Scratch Test: Place your fingertips symmetrically around the center dust cap. Gently press the cone inward straight and level. If you feel gritty friction or hear a dry, scratching noise, the voice coil has warped. A warped voice coil cannot be repaired; the speaker must be replaced.
- Inspect the Suspension Surround Ring: Closely inspect the outer foam or rubber surround. If the material has dry-rotted, torn, or detached from the stamped metal basket, bass air escapes past the cone edges, creating a hollow buzz that mimics an electrical fault.
- Multimeter DC Resistance Test: Disconnect both speaker wires from the terminal tabs. Set a digital multimeter to the lowest Ohms (Ω) scale and probe across the positive and negative terminals:
- Normal Reading: A standard 4-ohm driver will measure between 3.2Ω and 3.8Ω DC resistance. A 2-ohm factory driver (such as Bose or JBL) will read between 1.6Ω and 2.0Ω.
- Failed Reading: If the meter displays 0.0Ω, the voice coil windings have melted into a dead short. If it shows “O.L.” (Open Loop), the voice coil wire has snapped. Both conditions trigger severe distortion or force your amplifier into protect mode.
⚠️ Amplifier Overload Hazard: Operating your sound system with shorted voice coils pulls dangerous current surges through the radio power IC. This can permanently burn out internal output channels or damage factory wiring harnesses.
RELATED TROUBLESHOOTING GUIDE
👉 Does your stereo shut off completely when cranking up bass? Volume protection guide →
Step 2: Eliminate Amplifier Audio Clipping and Recalibrate Equalizer Gains
If physical speaker hardware passes visual and resistance testing, discovering your car speakers crackling when playing music above 60% volume indicates signal clipping rather than physical driver damage.
Most factory and aftermarket head units deliver only 15 to 22 watts RMS of clean continuous power per channel, despite retail boxes advertising “50W Peak.” Cranking the master volume knob while boosting bass equalizer bands demands voltage that the internal amplifier power supply cannot provide:
- The Mechanics of Audio Clipping: When an amplifier runs out of clean voltage headroom, it clips the peaks and troughs of smooth audio sine waves, converting them into flat DC square waves. This forces the speaker voice coil to lock stationary at full excursion while receiving continuous DC voltage, producing harsh crackling.
- Flatten Digital Equalizer Profiles: Open your head unit audio settings and reset all aggressive frequency bands. Keep Bass, Sub-Bass, and Loudness settings between 0 dB and +2 dB when powering speakers directly off deck power.
- Calibrate Outboard Amplifier Gain: If running external amplifiers, turn gain potentiometers fully counterclockwise to minimum. Set head unit volume to roughly 75%. Play a dynamic, high-bitrate music track and slowly rotate amplifier gain clockwise until sound is loud and authoritative, backing it off slightly at the first trace of raspy harshness. Calibrating gains stops situations where car speakers crackling when playing music at highway speeds.
RELATED TROUBLESHOOTING GUIDE
👉 Is your speaker noise an alternator whistle that rises with engine RPM? Ground loop fix guide →
Step 3: Check Door Jamb Flex Boots for Fractures and Ground Faults
Vehicle doors swing open and shut thousands of times over years of operation. Continuous flexing causes the stranded copper conductors inside the rubber door jamb accordion boot to work-harden, fray, and snap.
Intermittent pops and static bursts that coincide with driving over bumps or opening vehicle doors point directly to wiring harness fatigue causing car speakers crackling when playing music:
- Inspect Speaker Terminal Spade Lugs: Inside the door frame, factory slip-on spade terminals loosen under vehicle vibration. Gently squeeze the female connector barrel with pliers before sliding it back onto the terminal tab to ensure a tight, gas-tight mechanical grip.
- The Rubber Conduit Wiggle Test: Play a track with clear vocals at moderate volume. Firmly grasp the rubber accordion boot bridging the door frame to the body A-pillar or B-pillar. Squeeze, flex, and gently tug the rubber conduit.
- Reading the Result: If the sound crackles, pops, or cuts out while manipulating the conduit, the internal copper core has severed. Pull back both ends of the rubber collar, locate the broken wire, and splice in a short section of high-flex primary automotive wire using nylon-insulated butt connectors.
- Test for Chassis Ground Shorts: Verify that neither speaker terminal tab is touching the sharp inner metal door skin. Contacting vehicle sheet metal causes a direct short circuit, triggering channel protection that makes car speakers crackling when playing music worse during vibration. Check our wiring resource to connect factory wiring to android head unit adapters cleanly.
Step 4: Inspect Chassis Grounding and Prevent 12V Rail Voltage Sag
Car audio amplifiers require instantaneous DC current delivery during dynamic bass transients. A high-resistance ground circuit or loose battery clamp starves internal power rails, causing supply voltage to collapse and creating an audible pop or buzz.
When the main +12V power rail drops beneath 11.5 volts under load, internal amplifier chips cannot sustain output waveforms, leading to car speakers crackling when playing music at high volumes:
- Eliminate Factory Harness Ground Loops: Aftermarket stereo adapter looms frequently tie ground wires into factory dashboard harnesses. These thin wires share common return paths with noisy blower fans and wiper relays, introducing electrical ripple into the audio stage.
- Establish a Dedicated Chassis Ground: Cut the black ground wire on the radio harness adapter. Crimp a heavy-duty copper ring terminal onto an extended 14-gauge primary wire.
- Secure the ring terminal directly to an unpainted, structural steel dashboard subframe using a star lock washer and self-tapping bolt. Scrape away all factory paint and primer to guarantee resistance measures under 0.2 ohms to the battery negative post. Resolving electrical drops ensures your car speakers crackling when playing music problem does not return during night driving with headlights on. If your amplifier shuts down completely, consult our car amplifier protect mode troubleshooting guide.
RELATED TROUBLESHOOTING GUIDE
👉 Did your audio cut out completely instead of crackling? Step-by-step head unit no-sound fix →
Step 5: Rule Out Source Media Distortion and Digital Pre-Amp Clipping
Before unbolting physical door speakers, confirm that the audio signal feeding the amplifier is clean. A distorted digital recording, an overloaded Bluetooth receiver, or a damaged auxiliary cable can perfectly mimic a blown speaker cone.
Isolate your source signal using this systematic three-step check:
- Switch Across Independent Audio Sources: Cycle through independent input sources on your head unit: broadcast FM radio, Bluetooth streaming, Apple CarPlay or Android Auto, and a lossless audio track stored on a USB thumb drive. If you only experience car speakers crackling when playing music over Bluetooth, your physical speakers and door wiring are completely healthy.
- Lower Smartphone Pre-Amp Volume: When streaming via Bluetooth or an auxiliary 3.5mm jack, setting phone media volume to 100% overdrives the head unit’s analog input stage, causing pre-amp distortion. Lower your phone volume to roughly 80% to 85%, and use the head unit master volume knob to achieve listening levels.
- Inspect Auxiliary 3.5mm Cables: If using an AUX cable, gently rotate the connector inside the dashboard jack while music plays. If rotating the plug triggers loud scratching or pops, oxidized contacts or broken ground shields inside the cable are causing car speakers crackling when playing music. Replace the cable with a shielded automotive patch cord. If sound only reaches one side, see our guide on fixing only one car speaker works issues.
Diagnosing car speakers crackling when playing music comes down to systematically separating mechanical transducer failure from electrical clipping and harness ground faults. Performing a manual voice coil scratch test, flattening aggressive equalizer bass boosts, securing loose door hinge wires, and establishing a solid chassis ground permanently resolves acoustic distortion without wasting money replacing healthy audio hardware.
Frequently Asked Questions (FAQ)
Can a blown car speaker damage my car radio?
Yes. If a voice coil overheats and melts, the copper windings fuse together, dropping electrical resistance to near 0 ohms. Operating a system with car speakers crackling when playing music under shorted voice coils pulls dangerous current spikes that can burn out the stereo’s internal amplifier IC or blow vehicle fuses.
Why do my car speakers crackle only when I turn up the bass?
Bass frequencies require high cone excursion and substantial electrical current. When low frequencies are boosted, small factory head units run out of clean DC power and begin clipping the signal into harsh square waves, or a physically torn cone surround begins fluttering against the door panel, leading to crackling distortion.
How can I tell if a speaker is blown without removing the door panel?
Adjust your stereo’s balance and fader controls to route audio completely to that single speaker. Play a vocal-heavy track at moderate volume. If the sound remains muffled, rattles with hollow distortion, or produces no sound at all while other speakers play cleanly, the unit has suffered physical voice coil or cone failure.
Will installing new door speakers permanently stop crackling?
Replacing damaged speakers resolves crackling caused by torn cones or blown voice coils. However, if the issue stems from amplifier clipping (setting volume and bass to maximum) or pinched door wiring, new speakers will distort and eventually blow as well until gains and wiring faults are corrected.