
Why Does My Car Amplifier Go Into Protect Mode? (5 Tested Fixes)
Is your car audio amplifier showing a solid red protect light or shutting off every time heavy bass notes hit? Learn how to isolate blown voice coils, chassis speaker ground shorts, and low battery voltage drop using a simple digital multimeter.

An automotive amplifier triggers its internal protection relay to prevent catastrophic thermal runaway and catastrophic semiconductor failure. When excessive thermal loads, a dead speaker short, or a severe 12V supply voltage drop occurs, internal monitoring comparator circuits instantly pull down the gate drive voltages on the power supply rail. This automated cutoff shields high-current output MOSFET transistors from permanent internal breakdown, preventing melted PCB traces and vehicle electrical fires.
Whether your red protection light flashes the exact millisecond a heavy 808 bass transient hits, stays permanently illuminated with zero audio wires connected, or shuts down after twenty minutes of highway driving, the breakdown rarely stems from an unrecoverable mainboard defect. In professional 12-volt car audio diagnostics, over 85% of protection lockups trace back to low-impedance subwoofer voice coils, chassis ground cable resistance, or pinched door speaker wiring.
Before unbolting your amplifier chassis from the trunk floor or sending hardware out for expensive warranty repairs, running through a methodical bench isolation test will isolate the exact electrical fault in under fifteen minutes. Here are five practical workshop procedures to troubleshoot why your car amplifier goes into protect mode and restore clean, distortion-free cabin audio.
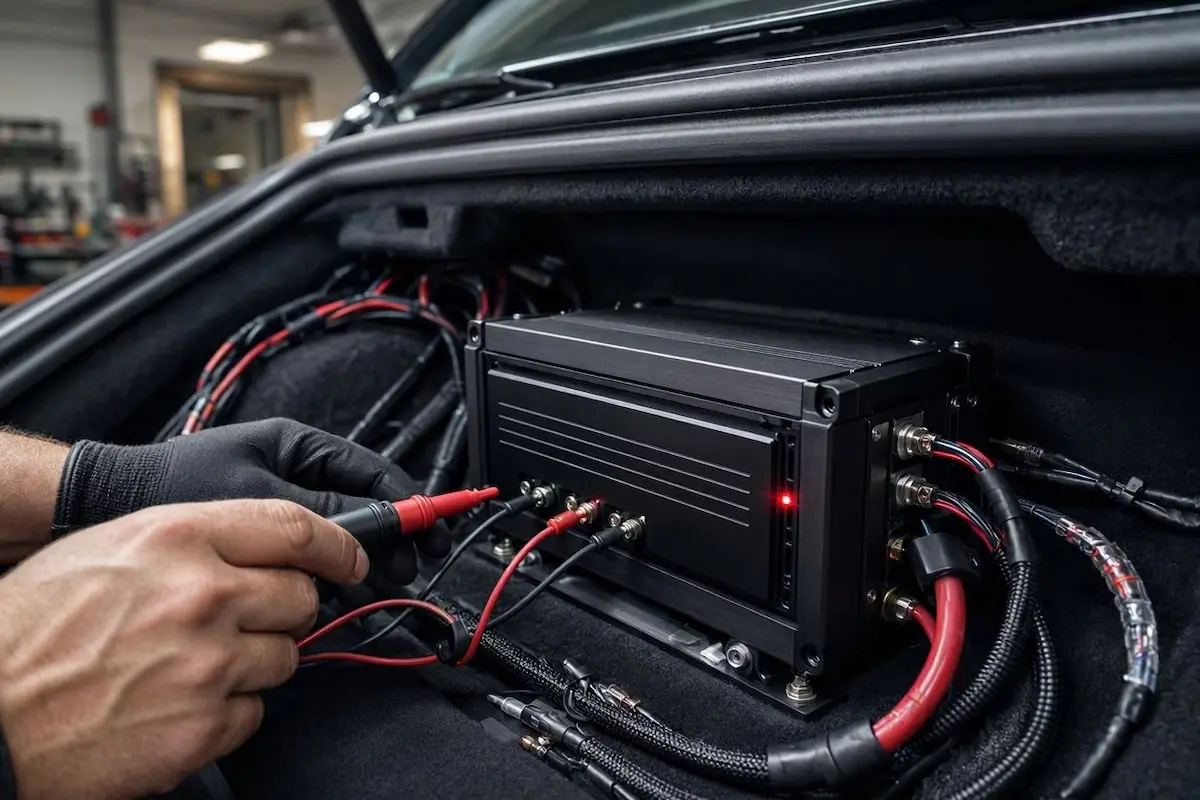
Diagnostic Matrix: Why a Car Amplifier Goes Into Protect Mode
Cross-reference your amplifier’s LED illumination pattern and operational failure timing against our workshop diagnostic matrix whenever a car amplifier goes into protect mode unexpectedly:
| Protect Light Symptom | Likely Root Cause | Immediate Workshop Action |
|---|---|---|
| Protect LED stays red with no RCA or speaker leads attached | Blown power supply MOSFETs, shorted rectifier diodes, or exploded rail caps. | Perform bare-bench isolation test on power, ground, and REM terminals. |
| Trips into protect mode only when volume rises or heavy bass hits | Subwoofer impedance wired below stable ohm rating, or severe supply voltage drop. | Measure battery B+ voltage under load and verify final subwoofer wiring resistance. |
| Turns red after 15 to 30 minutes of continuous highway playback | Thermal overload caused by heatsink obstruction, poor mounting, or clipped gains. | Clear cargo clutter around heatsink fins and recalibrate input sensitivity. |
| Flashes protect intermittently when driving over rough road bumps | Frayed speaker lead touching chassis steel or a loose main ground terminal bolt. | Inspect rubber door hinge bellows and check ground lug torque with a wrench. |
| Both power and protect LEDs glow dimly at the exact same time | Insufficient turn-on voltage on the Remote (REM) circuit or dying ground return. | Probe REM terminal voltage with a multimeter to verify a clean 12V switch feed. |
Step 1: Isolate the Bare Amplifier from All Signal and Speaker Wiring
Before disassembling subwoofer enclosures or tearing down interior door cards, you must confirm whether a car amplifier goes into protect mode due to internal component failure or external vehicle wiring shorts.
Perform this zero-cost isolation test directly inside your vehicle without unmounting the unit:
- Turn off the vehicle ignition, pull the car key from the barrel, and disconnect the main inline power fuse near the car battery.
- Disconnect every speaker and subwoofer conductor from the amplifier output barrier blocks (+ and -). Ensure no frayed, microscopic hair strands of bare copper remain bridging across terminal dividers.
- Unplug all low-level RCA patch interconnect cables coming from the head unit.
- Leave only three primary wires securely attached to the amplifier power block: +12V Battery Constant (B+), Chassis Ground (GND), and Remote Turn-On (REM).
- Reinstall the main battery fuse and turn the ignition key back to the ACC position.
Analyzing the Bare-Bench Isolation Result: If the power LED illuminates solid green (or blue) and remains stable, your amplifier internal power supply, output driver ICs, and switching transistors are completely healthy. The shutdown is being triggered exclusively by an external voice coil short, impedance drop, or grounded audio conductor. Conversely, if the unit remains locked in red protect mode with absolutely zero audio cables connected, internal switching MOSFETs or rail rectifiers have shorted, requiring board-level bench repair.
RELATED TROUBLESHOOTING GUIDE
Step 2: Measure Subwoofer and Speaker Voice Coil Impedance Loads
Operating an amplifier below its manufacturer-certified minimum impedance rating forces the output stage to pass massive current surges. This excessive current draw is the primary reason a car amplifier goes into protect mode during high-volume listening sessions.
For example, bridging a 2-channel Class-AB amplifier into a 2-ohm mono load when the circuitry is only certified stable down to 4 ohms bridged forces the output transistors to dissipate double their rated thermal capacity, tripping the over-current detection circuit within milliseconds:
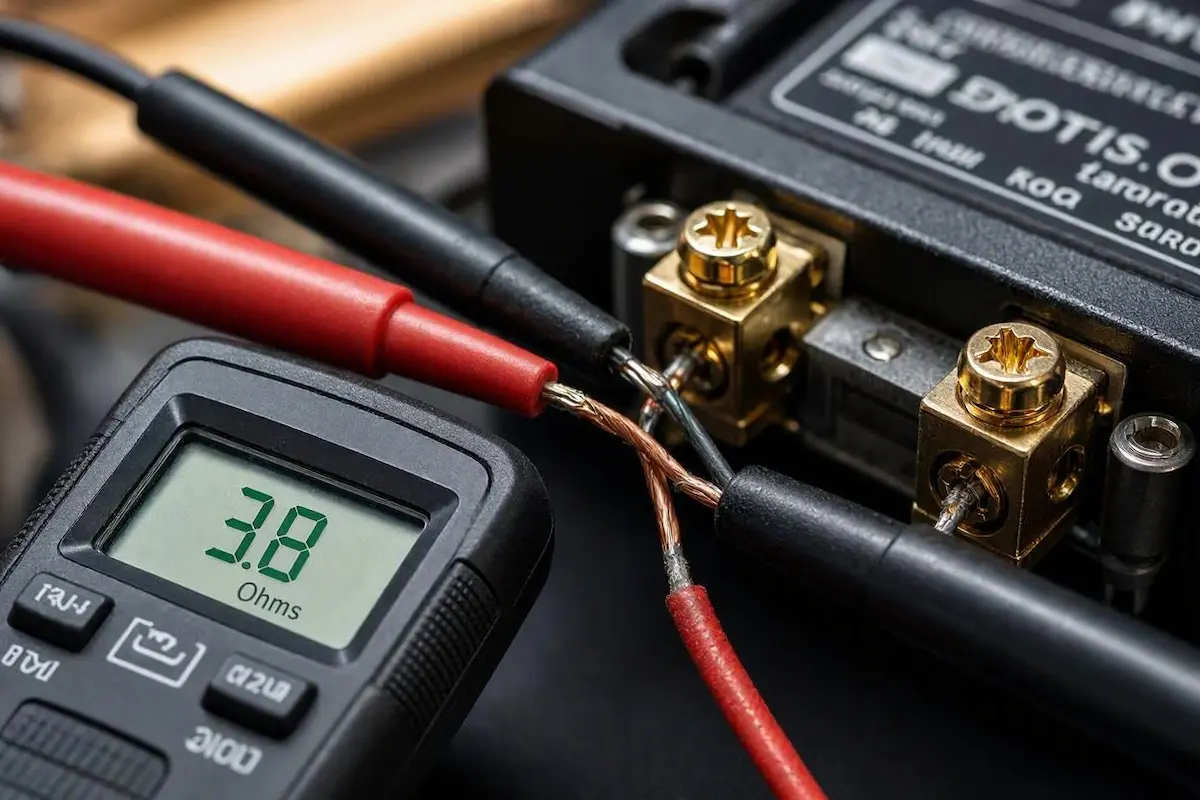
- Measure DC Resistance with a Digital Multimeter: Disconnect the speaker wire pair from the amplifier output terminals. Switch your multimeter to the lowest Ohms (Ω) range (200Ω scale).
- Touch the test probes directly across the positive and negative speaker leads feeding into your subwoofer enclosure or door speaker network.
- Interpreting Voice Coil Readings: DC resistance (Re) is typically 15% to 20% lower than nominal AC impedance. A healthy 4-ohm driver will measure between 3.2Ω and 3.8Ω DC. A 2-ohm subwoofer will read between 1.6Ω and 1.9Ω. A certified 1-ohm subwoofer setup will read between 0.8Ω and 0.95Ω.
- The Shorted Voice Coil Fault: If your multimeter displays a reading below 0.5Ω (or beeps continuously near 0.0Ω), the speaker voice coil has overheated, melted its protective polyimide enamel coating, and fused its copper windings together. This dead short trips the protection circuit instantly the moment signal voltage appears across the terminals.
- Rewiring Dual Voice Coil (DVC) Subs: If you are running two Dual 4-ohm subwoofers wired in parallel, the final load drops to 1 ohm. If your monoblock amplifier is only 2-ohm stable, you must rewire the coils in a series-parallel configuration to present a safe 4-ohm load to the amplifier.
Step 3: Test Speaker Wires for Ground Faults Against Chassis Sheet Metal
A speaker wire does not have to touch its own companion negative conductor to trigger an over-current shutdown; making contact with the vehicle’s steel chassis anywhere in the car will also short the output stage to vehicle ground.
Because automotive amplifiers operate in a bridge-tied load (BTL) configuration where neither the positive nor the negative speaker terminal is at chassis ground potential, an accidental ground fault is a widespread reason why a car amplifier goes into protect mode when driving across rough road surfaces:
- Keep your speaker wires completely disconnected from the amplifier output terminal blocks.
- Switch your digital multimeter to continuity buzzer mode or high Ohms (20kΩ scale).
- Clamp one multimeter probe firmly onto an unpainted, shiny steel chassis bolt or the amplifier’s verified ground lug.
- Touch the second multimeter probe to each individual positive and negative speaker wire across every audio channel one by one.
- Expected Reading: The multimeter must display “O.L.” (Open Loop / Infinite Resistance) on all conductors. If the meter beeps or displays any numeric resistance reading, that specific speaker wire has pinched against sharp body sheet metal inside a rubber door hinge accordion boot, under rear seat frames, or beneath carpet sill plates. Trace and re-insulate the punctured wire.
⚠️️ Transistor Hazard: Never force repeated power cycles while your car amplifier goes into protect mode, as surge current through tripped safety relays can puncture internal MOSFET gate insulation, turning a simple wiring short into an expensive, burned-out circuit board repair.
RELATED TROUBLESHOOTING GUIDE
Step 4: Measure 12V B+, Ground Resistance, and REM Turn-On Voltage
Car audio amplifiers demand substantial direct current from the vehicle alternator and battery. If the battery terminal clamp is corroded, the primary inline fuse holder has developed electrical resistance, or the chassis ground bolt has worked loose, severe voltage starvation occurs.
When supply voltage sags below 10.8 volts DC during dynamic bass transients, your car amplifier goes into protect mode to prevent internal power transformer saturation and excessive current draw through internal switching inductors:
- Measure Main +12V Battery Voltage (B+): Place the black multimeter probe on the amplifier GND terminal and the red probe directly on the amplifier +12V terminal lug. With the vehicle engine idling, the meter should read between 13.8V and 14.4V DC. Play a demanding bass track; if supply voltage drops below 11.0V DC, your power cable gauge is too thin, your battery terminal clamp is oxidized, or your alternator cannot supply the required current.
- Verify Remote Turn-On (REM) Voltage: Touch the red probe to the amplifier REM terminal and the black probe to the GND lug. The reading must show at least 11.5V to 12.5V DC. A weak 7V to 9V trigger from an overloaded head unit accessory line will cause erratic protect mode cycling or dual dim LED illumination.
- Inspect the Chassis Ground Return: Ensure the amplifier ground cable is no longer than 18 inches. The copper ring terminal must bolt directly to bare, unpainted vehicle chassis steel using a star lock washer. Never attach an amplifier ground lead to painted seat bracket bolts, thin trunk sheet metal, or factory wiring harnesses. Review our guide on diagnosing car stereo battery drain to ensure clean vehicle power distribution.
RELATED TROUBLESHOOTING GUIDE
Step 5: Resolve Thermal Overheating and Calibrate Input Gain Levels
If your car amplifier goes into protect mode only after 20 to 30 minutes of spirited listening, internal thermal dissipation is exceeding the chassis thermal safety cutoff switch (typically calibrated by manufacturers between 85°C and 90°C / 185°F to 194°F).
Restore proper operating temperatures and eliminate severe harmonic distortion using these workshop setup rules:
- Mounting Orientation Matters: Never mount an amplifier upside down beneath a rear parcel shelf. Convection heat naturally rises; mounting an amplifier upside down radiates thermal energy directly back into the sensitive mainboard circuitry rather than releasing it through the heavy aluminum heatsink fins. Mount the amplifier flat or vertically with fins running upwards.
- Maintain Adequate Clearance: Ensure at least 3 inches of open clearance above and around the amplifier chassis. Never bury the amplifier underneath heavy trunk cargo, rubber floor mats, or spare tire covers.
- Calibrate Input Sensitivity (Gain): The gain potentiometer on an amplifier is not a volume knob; it is an input sensitivity match. Setting amplifier gain to maximum while boosting head unit bass equalizers feeds heavily clipped square waves into the amplifier output stage. Severe clipping forces output transistors to stay saturated at rail voltage for extended periods, doubling heat generation and triggering thermal protect mode.
- Setting Gains Without an Oscilloscope: Set your head unit master volume to roughly 75% (the threshold before head unit pre-amps clip). Turn the amplifier gain potentiometer completely counterclockwise to minimum. Play a dynamic music track, and slowly rotate the gain clockwise until music is loud and punchy, backing the dial off slightly at the first audible trace of harshness or distortion. If you recently had an audio cutout across one corner, check out our guide on fixing only one car speaker works issues.
Diagnosing why a car amplifier goes into protect mode comes down to methodically separating internal amplifier hardware from external vehicle loads. Performing a bare-terminal isolation test, measuring voice coil resistance with a multimeter, testing speaker leads for chassis ground faults, and verifying steady 13.8V power delivery ensures you solve the true electrical failure whenever your car amplifier goes into protect mode without replacing hardware that remains fully functional.
Frequently Asked Questions (FAQ)
How do I reset my car amplifier from protect mode?
When a car amplifier goes into protect mode, turn off the vehicle ignition, disconnect the negative battery terminal for 10 minutes, and pull the main inline power fuse near the battery. Check and fix any shorted speaker wires before reconnecting power. Once clean power is restored and the fault condition is cleared, the internal protection relay resets automatically upon vehicle startup.
Why does my car amplifier go into protect mode when I turn the volume up?
Higher volume demands greater electrical current and increases speaker cone excursion. If your subwoofer impedance is wired lower than the amp’s stable limit, battery voltage sags below 10.8V under bass loads, or a speaker voice coil has a partial short, the sudden electrical draw immediately trips the over-current protection circuit.
Can a blown subwoofer put an amplifier into protect mode?
Yes. When a subwoofer voice coil overheats and burns through its protective enamel insulation, the copper windings fuse together. This drops electrical resistance from 4 ohms down to near 0 ohms, presenting a direct dead short across the amplifier’s output stage that triggers instant protection shutdown.
Why is my amp in protect mode with nothing connected?
If an amplifier stays locked in protect mode with all speaker leads and RCA cables completely removed, one or more internal MOSFET power supply transistors or output diodes have shorted internally. The amplifier requires internal board inspection or professional bench repair to replace the damaged components.