
Why Does My Car Radio Keep Restarting? (6 Step-by-Step Fixes)
Is your car stereo constantly rebooting every few minutes or shutting down when you hit a road bump? Learn how to diagnose 12V ACC voltage drops, amplifier thermal overload, and ground resistance using a simple multimeter.

Persistent episodes where a car radio keeps restarting point directly to momentary direct-current (DC) power starvation rather than a catastrophic processor failure. Modern automotive head units incorporate internal low-voltage comparator circuits designed to trigger an immediate hardware reset the instant operating voltage drops below 10.5 volts DC. This watchdog safety measure protects volatile flash memory and amplifier output stages from brownout damage during electrical fluctuations.
Whether your center console cycles completely dark when crossing railway tracks, reboots the exact millisecond a heavy bass transient hits, or gets stuck cycling on the factory vehicle emblem, the breakdown rarely requires replacing the core chassis. In professional 12-volt installation facilities, dealing with a car radio keeps restarting glitch almost always traces back to mechanical terminal spread on the switched accessory (ACC) line, thermal saturation across the rear heat sink, or oxidized chassis ground connections.
Before unbolting dashboard trim panels or paying for unnecessary head unit replacements, twenty minutes of structured electrical testing with a digital multimeter will isolate the exact point of voltage failure. Here are six practical workshop procedures to troubleshoot why your car radio keeps restarting and restore reliable, uninterrupted stereo playback.
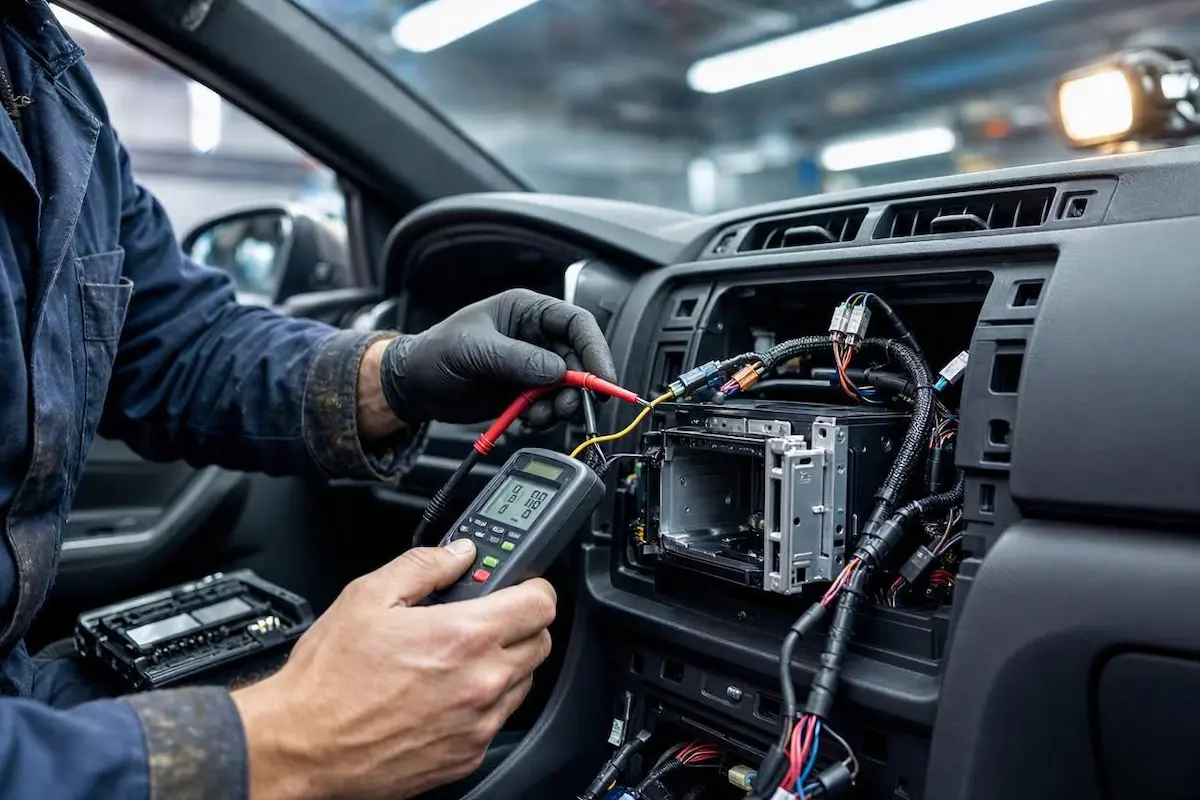
Diagnostic Matrix: Why a Car Radio Keeps Restarting
Cross-reference your vehicle’s specific reboot symptoms against our workshop failure matrix to isolate an issue where your car radio keeps restarting before unbolting dashboard brackets:
| Reboot Symptom | Likely Root Cause | Immediate Workshop Action |
|---|---|---|
| Restarts only when driving over road bumps or railroad tracks | Loose terminal socket on switched ACC wire or backed-out fuse tap. | Inspect 16-pin harness socket tension and recrimp butt connectors. |
| Reboots immediately when turning up the volume or on bass hits | Severe supply voltage drop on the 12V rail or shorted speaker voice coil. | Measure battery resting voltage under load and test speaker impedance. |
| Reboots every 10 to 15 minutes of continuous highway playback | Amplifier thermal overload; heat sink exceeding safe thermal limits (85°C). | Clear dash cavity clutter and verify rear cooling fan operates freely. |
| Stuck on the vehicle boot logo in an endless power loop | Corrupted system cache memory, interrupted update, or NAND error. | Perform a 15-second RST pin-hole reset or flash factory recovery ROM. |
| Restarts the moment headlights or air conditioning switch on | Weak battery cell or failing alternator diodes causing systemic sag. | Test vehicle charging system voltage under full cabin accessory load. |
Step 1: Measure Battery Voltage Sag and Alternator Output Under Load
Momentary voltage starvation is the primary electrical reason a car radio keeps restarting during routine daily driving. Automotive sound systems require a consistent DC supply between 11.8V and 14.4V to keep internal switching power supplies stable. If bus voltage drops below 10.5V for even 50 milliseconds, the head unit microcontroller drops its hold state to prevent memory corruption.
Audit your vehicle’s primary charging system using a digital multimeter:
- Resting Battery Voltage Test: Turn the vehicle engine off and switch the multimeter to DC Volts (20V range). Place the probes directly across the lead battery posts. A healthy automotive battery must read between 12.4V and 12.6V DC. A reading beneath 12.0V indicates a degraded lead-acid cell that collapses under moderate auxiliary current draws.
- Engine Cranking Voltage Drop: Have an assistant turn the key to crank the starter while you monitor the meter display. If battery terminal voltage plunges below 9.6V DC during cranking, the battery lacks reserve electrical capacity, starving cabin electronics during startup.
- Alternator Regulator Output Under Load: Start the engine and allow it to settle into a warm idle. Terminal voltage should read steadily between 13.8V and 14.5V DC. Next, activate high beams, rear window defrosters, and maximum blower fan speed. If charging voltage plunges below 12.8V DC, the alternator voltage regulator or diode trio is failing to handle current demands.
RELATED TROUBLESHOOTING GUIDE
Step 2: Inspect Yellow (Constant 12V) and Red (Switched ACC) Harness Feeds
Automotive head units operate across two completely separate 12-volt circuits: the Yellow wire (constant +12V battery power for internal clock memory and sleep states) and the Red wire (switched accessory power that commands the display to turn on). A loose crimp or loose terminal pin on either wire explains why a car radio keeps restarting when driving across rough road surfaces.
Inspect the stereo wiring harness behind the center console:
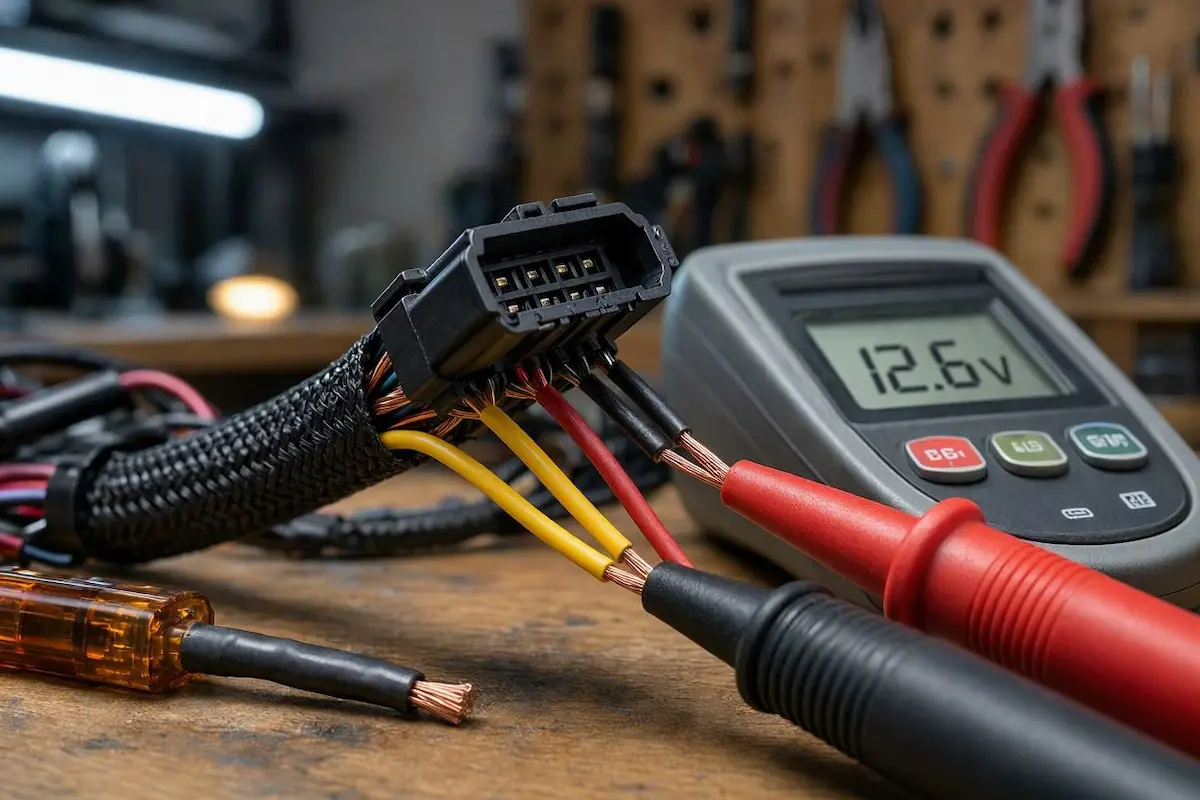
- Eliminate Twisted-and-Taped Splices: Flimsy vinyl electrical tape and wire nuts loosen under continuous dashboard vibration. Cut away exposed tape joints, strip fresh copper conductors, and install nylon-insulated butt crimp connectors or solder the joints cleanly with dual-wall adhesive-lined heat shrink tubing.
- Check Terminal Pin Retention in the 16-Pin Plug: Unplug the primary harness connector from the rear of the radio chassis. Inspect the tiny metal female pins inside the plastic shell. If a locking tab has broken or spread open, the pin backs out under vibration, momentarily severing ACC power. Gently close spread pins using a dental pick to restore firm mechanical tension.
- Wiggle Test the Ignition Switch Barrel: Connect your meter’s red probe to the Red ACC wire and the black probe to clean chassis ground. Gently wiggle the car key inside the steering column ignition tumbler. If voltage drops from 12V down to 0V while jiggling the key, the mechanical ignition switch electrical contacts are worn and dropping the accessory circuit, which is why a car radio keeps restarting unexpectedly. Consult our guide on how to connect factory wiring to android head unit adapters for correct pinouts.
Step 3: Clean High-Resistance and Floating Chassis Ground Connections
Electrical current requires an unobstructed path back to the vehicle chassis to complete the circuit. A loose, painted, or corroded ground connection introduces fluctuating resistance, forcing the head unit’s microcontrollers to drop out even while power fuses remain intact.
Establish a true zero-ohm ground connection using these installation standards:
- Trace the Black ground lead exiting the main radio harness connector. Avoid tying into thin factory dashboard wiring looms that share return paths with noisy HVAC blower motors or wiper relays.
- Locate a solid structural steel subframe brace positioned behind the dashboard.
- Scrape away all factory paint, primer, and surface oxidation using a wire brush or coarse sandpaper until bright, bare steel is visible.
- Crimp a heavy-duty closed-end copper ring terminal onto your 14-gauge black ground wire, secure it to the steel frame using a star lock washer and self-tapping bolt, and verify electrical resistance measures under 0.2 ohms to the battery negative post. Resolving loose grounds stops instances where a car radio keeps restarting over speed bumps. If your stereo has completely stopped powering on after ground issues, refer to our Android car stereo won’t turn on guide.
⚠ Unfused Bypass Hazard: Never attempt to bypass a rebooting stereo by running an unfused hot wire directly from the vehicle battery terminal into the dashboard. If an unfused cable rubs against sharp chassis sheet metal, it will dead-short, melting its jacket and igniting an electrical cabin fire within seconds.
PARASITIC DRAIN PREVENTION
Step 4: Eliminate Amplifier Heat Sink Thermal Saturation
If your stereo functions perfectly when you start a trip, thermal throttling is frequently the underlying reason a car radio keeps restarting after 15 to 20 minutes of continuous driving. Modern multi-channel amplifier integrated circuits (such as the TDA7851 or TDA7388) generate substantial thermal dissipation during sustained listening.
When aluminum heat sink temperatures exceed 85°C (185°F), the internal thermal comparator switch trips, cycling main system power to prevent silicon junction destruction:
- Clear Center Console Cavity Airflow: Cramming excess wiring harnesses, bulky CANbus decoder boxes, and thick RCA patch cables directly against the rear aluminum heat sink fins traps stagnant hot air. Neatly route and zip-tie auxiliary wiring bundles below or to the sides of the radio chassis.
- Inspect Active Cooling Fans: Many aftermarket Android head units incorporate a 12V micro-fan on the rear chassis panel. Confirm that the fan blades spin freely when ACC power is applied. Lint, pet hair, or unplugged fan headers prevent forced convective cooling.
- Check Clearance to HVAC Heater Ducts: Ensure the rear chassis of the stereo does not rest directly against plastic cabin heating ducts. During winter driving, boiling air moving through HVAC channels will heat-soak the radio chassis from the outside, triggering rapid thermal reboots.
Step 5: Test Speaker Circuits for Ground Faults and Voice Coil Shorts
A damaged speaker voice coil or a frayed conductor touching bare vehicle sheet metal inside a rubber door jamb boot forces the head unit’s amplifier chip into short-circuit protection. This automated shutdown is another frequent electrical reason a car radio keeps restarting without blowing a fuse.
Isolate your vehicle speaker circuits using this systematic bench measurement:
- Unplug the main multi-pin harness connector from the rear of the radio chassis.
- Locate the eight speaker wires arranged in positive and negative pairs (Front Left, Front Right, Rear Left, Rear Right).
- Set your digital multimeter to the lowest Ohms (Ω) scale and probe across each positive and negative pair. A healthy automotive speaker must read between 3.2Ω and 4.2Ω DC resistance. A reading near zero ohms indicates a melted, shorted voice coil that chokes the amplifier output stage.
- Next, clamp one meter probe onto bare vehicle chassis steel and touch the other probe to each individual speaker wire one by one. You must observe “O.L.” (Open Loop / Infinite Resistance). If any speaker wire shows continuity or numeric resistance to ground, that conductor is pinched against bare steel inside a door frame, shorting the output stage. If audio drops on one corner only, read our guide on fixing only one car speaker works issues.
RELATED TROUBLESHOOTING GUIDE
👉 Is your stereo restarting or is the display backlight failing while audio plays? Black screen fix →
Step 6: Perform a Hardware Pin-Hole Reset and System Cache Wipe
When operating voltages, ground continuity, and thermal dissipation test out perfectly, corrupted system runtime cache or an interrupted firmware background write can trap the operating system in a repeating cycle where a car radio keeps restarting continuously.
Recover system stability using these workshop protocols:
- Execute a Hardware RST Micro-Switch Reset: Locate the tiny recessed pin-hole marked “RST” or “RES” on the front glass bezel. With the ignition switched to ACC, insert a straightened paperclip, press the internal switch down for 15 seconds, and release. This discharges volatile static RAM registers and restarts the low-level bootloader cleanly.
- Wipe Corrupted System Application Cache: On Android touchscreen units that stay running long enough to access menus, navigate to Settings > System > Reset Options > Erase All Data (Factory Reset). This eliminates conflicting third-party APK background daemons that crash the system framework. If you need the factory access code, grab it from our list of Android car stereo factory settings passwords.
- Perform a Full Capacitive Drain: Disconnect the negative terminal of your vehicle battery for 30 minutes. This completely drains filter capacitors across the head unit and vehicle Body Control Module (BCM), clearing persistent CANbus arbitration deadlocks. If your unit is stuck cycling on the car brand emblem, follow our complete guide to fixing an Android car stereo boot loop.
Diagnosing why a car radio keeps restarting comes down to verifying clean DC power delivery before condemning the head unit. In most vehicles, testing for voltage sag on the 12V constant and ACC lines, securing loose crimp splices behind the dashboard, and establishing a clean, low-resistance chassis ground permanently eliminates random shutdowns and restores stable, dependable audio performance.
Frequently Asked Questions (FAQ)
Why does my car radio keep restarting while driving?
When a car radio keeps restarting while driving, the most common cause is a loose switched accessory (ACC) wire or a high-resistance ground connection that momentarily loses contact over road bumps. It can also be caused by an alternator voltage regulator dropping below 10.5V under electrical load, or the internal amplifier IC shutting down from heatsink overheating.
Can a weak car battery cause my stereo to reboot randomly?
Yes. If a car battery has high internal resistance or weak cells, turning on high-draw vehicle accessories (such as headlights, radiator cooling fans, or air conditioning) causes a sudden voltage sag. When supply drops below 10.5V, the stereo’s microprocessor automatically resets.
Why does my car radio restart every time I turn the volume up?
Playing loud music demands heavy current bursts from the power rail. If your 12V power wire gauge is too thin, the ground connection is corroded, or a speaker voice coil is blown, the sudden electrical draw causes voltage to collapse or triggers internal amplifier short-circuit protection.
How do I fix a car radio stuck in an infinite boot loop?
Press and hold the small recessed RST pin-hole button on the front panel for 15 seconds using a paperclip. If the reboot loop persists, disconnect the car battery negative terminal for 30 minutes. If software corruption remains, re-flash the manufacturer firmware via a clean FAT32 USB drive.